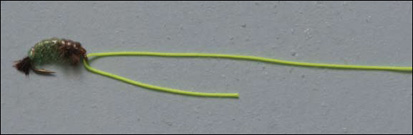
Knots
The basic steps in tying any knot correctly are: (1) forming, (2) lubricating, (3) drawing tightly, and (4) trimming.
Forming the knot is vital. It must be correctly tied; otherwise, the knot will not tighten properly and fail. Form each knot slowly and carefully.
A lubricated knot is most easily tightened. Use saliva or water to moisten the area to be drawn together. This reduces both friction and heat which can weaken the line.
Carefully tighten the knot slowly to avoid any overlapping loops. These overlaps can weaken the connection.
Finally trim the tag end close to the knot. This tag end serves no useful purpose other than providing a place to draw up the knot.
© 2026 The Gale Group, Inc. All rights reserved.
© 2026 Perigee Learning LLC. All rights reserved.
LoveTheOutdoors.com is owned and operated by Advameg, Inc. © 2026 Advameg, Inc.
Camping Adventures • Dutch Oven Cooking • Sports Knots
Fly Tying • Freshwater Fishing • Fly Fishing