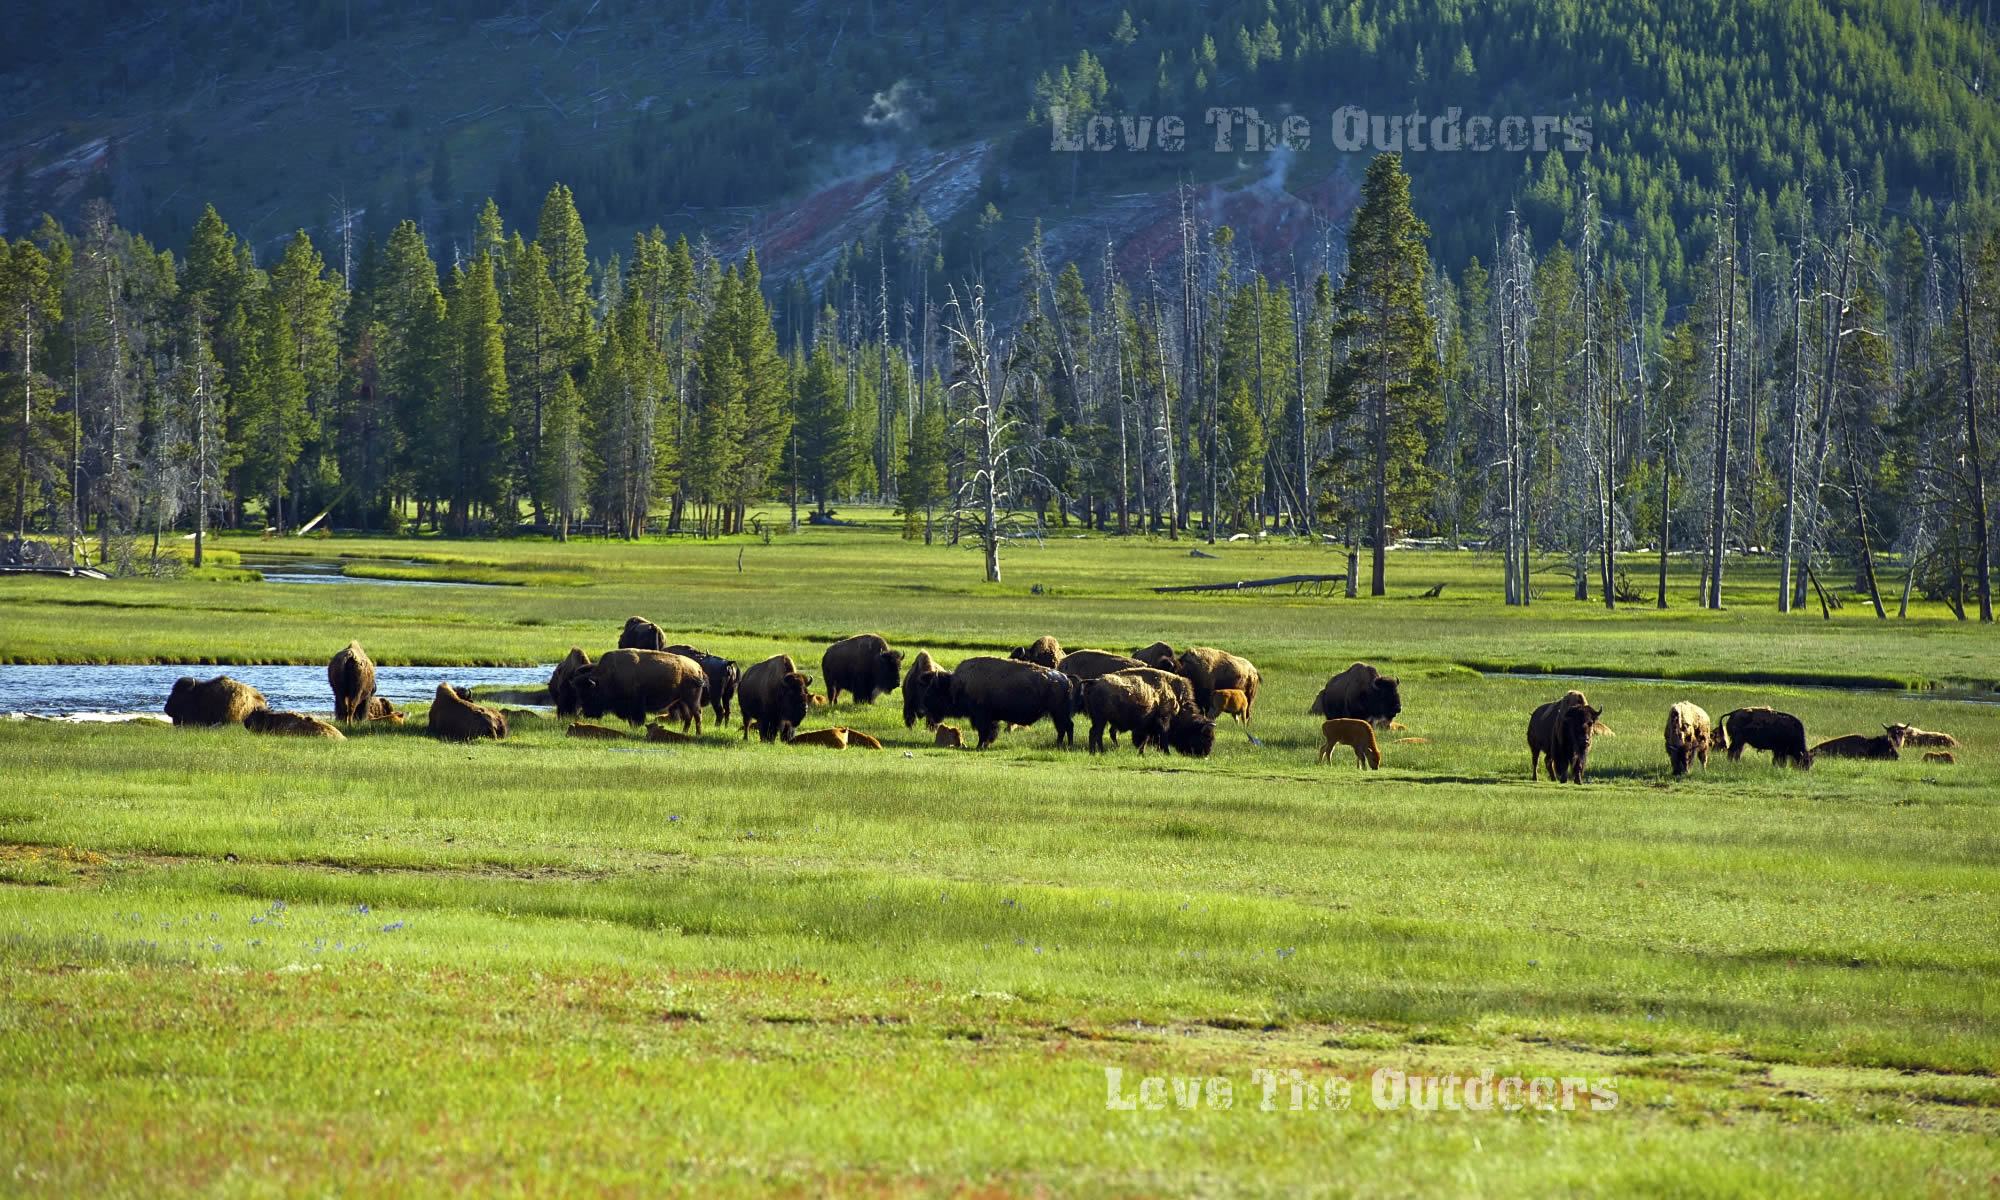
Tarp Camping
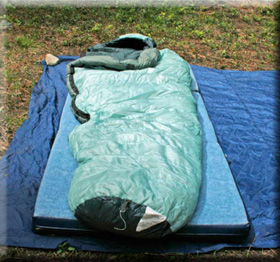
This is my lightest backpacking system. The pack is made by Go-Lite. It weighs only a pound and a few ounces. It is an internal frame pack. It can hold up to 5500 cubic inches and carry up to 30 pounds. It’s made of a very lightweight but durable waterproof material. Your items are protected when hiking in the rain or snow. I pack a ripple foam pad that weighs only a half pound or so. For a shelter I use a tarp made by REI.. This is a high quality tarp made for camping and weighs about one pound. I carry a 20°, 700 count fill goose down sleeping bag made by REI. This bag weighs only about two pounds. So, with this system I’m well under five pounds for shelter, pad, sleeping bag and back pack. At my age of 63, every pound counts. This makes backpacking much easier. This pack allows me to travel farther and enter more remote areas. I wish I had this kind of equipment when I was 16. I could have explored every wilderness nook and cranny in the west.
I want to demonstrate now how to pitch an ultra-light campsite. I’ve selected an area that doesn’t have any dead trees that may blow down upon my campsite. This spot has some natural shelter from some healthy live trees. This protects me from the wind and the rain. There are not any plants growing underneath the trees so I will not disturb the flora. I’ve selected a floor of dead pine needles. To pitch a tarp tent I simply pull the tarp out of its stuff bag, shake it out, and place it over the area I want for my shelter. My tarp is equipped with lightweight nylon ropes tied to its corner and side grommets. Use ultra-light aluminum tent stakes and start by staking down one of the tarp sides. My ropes are prettied with loops. I simply place the stake into the ground through the loop at a 45° angle to the tarp. I step on the stake to push


it into the ground. If this doesn’t work I’ll find a large rock to use as a hammer. After I’ve staked down one side of the tarp I use either my hiking staff or a sturdy stick cut to the appropriate length as one of the center poles. Before I set the center poles I loosely stake out the other side of the tarp. I loosely stake this side down because I’ll need to adjust its position. I start by staking in one of the corners opposite the center pole. Then I place the tip of my hiking pole or stick into the center grommet. I next set the center grommet’s guy rope. Again I stake it down at a 45° angle to the tarp. Next I repeat the process on the opposite center pole. That is I start by staking down its side and then setting the center pole and its guy rope. This gives the shape to the tarp. To make sure the tarp is secure I adjust the position of the loosely set stakes so that their guy ropes are taut. This gives support and strength to the pitched tarp. Now if I’m using my hiking staffs as center poles, their heights are easily adjusted to make sure the tarp’s pitch is taut. This will protect it from the elements of wind, snow and rain.
An advantage of the tarp tent is that it is pitched quickly and you can easily pick out any unnoticed rocks or sticks that may make for uncomfortable sleeping. I unroll my foam pad and pace it inside and set my sleeping bag on top of the pad. I shake the down sleeping bag to increase its loft. When sleeping bags are tightly packed in stuff sacks their loft is compressed and lost. Insulation depends on the amount of loft: the higher the loft the warmer the sleeping bag will be. The stuff sack the sleeping bag came in is used as my pillow. I simply take off my fleece jacket and place it inside.
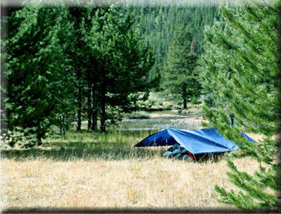
For its weight the tarp tent is the roomiest tent around. One tarp can provide 100 square feet of protection. This added room easily accommodates your other gear and pack to protect it from the elements. The tarp tent performs well in heavy rain or snow. It may even keep you drier than a traditional tent. The reason for this is the amount of ventilation, 360° around the tarp.
During a heavy rain storm a traditional tent can become wet. This is due to moisture condensation inside the tent. The high humidity from the rain storm along with the water vapor from your breath collects along the inside of the tent. This drips or flows down making the floor of your tent damp. The tarp directs any moisture condensation to its peripheries on the ground well away from your sleeping area.


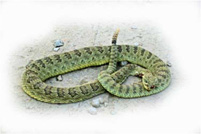

The disadvantages of tarp tenting are twofold. First, during mosquito season these biting insects have ready access to your face. You must protect yourself with insect repellent or a mosquito head net. The second disadvantage is when you are sleeping in rattlesnake country. Snakes are active at night and my phobia for rattlesnakes is that they may curl up next to me in camp. Snakes have thermo receptors and are attracted by warmth. Although this is a highly unlikely event, it still gives me nightmares.
This is the lightest backpacking system. Its advantage is that it allows you to access more remote areas with less fatigue. Perhaps you could carry in some more luxuries like a float tube to help you fish a mountain lake, or a heavier photography tripod for some serious photos. This entire system weighs less than five pounds and includes backpack, shelter, sleeping pad and sleeping bag.

Camping Adventures • Dutch Oven Cooking • Sports Knots
Fly Tying • Freshwater Fishing • Fly Fishing